Writing Setup
If you read my blog or tweets, you will have detected that I recently wrote a book called macOS by Tutorials , published by raywenderlich.com . in this post, I’m going to show you what hardware and software I used to write it.
Hardware
I use an 24 inch M1 iMac - yellow . I’ve always loved the form factor of the iMacs. They offer a superb monitor attached to a very good computer and the price is reasonable. My previous iMac used to make a noise like a kettle boiling when Xcode really got going, but this one is totally silent no matter what I do.
I’m a recent convert to a dual-monitor rig. I’ve always been content to use Spaces which provides virtual screens, and I still do that. But having the luxury of a second screen is great when you’re writing and previewing. My second screen is a Samsung C24F390 - a curved 24 inch display. The resolution isn’t anything like as good as the iMac, but I tweaked its settings to give as good a result as possible and I can’t imagine going back to a single monitor now.
My keyboard is an Ergodox Moonlander which I love. This is my first mechanical keyboard and I wasn’t sure if I’d like it, since I appreciated the low travel on my standard Apple keyboard. But I chose the Kailh Silver key switches which have the lowest travel and are the least clicky. It’s still quite noisy, but the travel was not an issue. The configuration options are amazing. It took several iterations, but I now have a keyboard layout that works really well for me. And I keep my Apple keyboard tucked under my monitor stand so the Touch ID button is in easy reach.
For a pointing device, I have the Logitech MX Vertical Ergonomic Mouse which is very comfortable to use and charges via USB-C. Just don’t install the Logitech Options utility software which is buggy and causes system problems. Use BetterTouchTool instead if you want to customize the buttons.
Software
App Development
For writing sample apps and code, I use Xcode set up in a completely standard way, using the default light scheme. This is so that my screenshots are consistent with what people will see if they are just getting started.
I wrote an article about Consistent Swift Style some years ago. The concepts are still valid but the way you integrate it with Xcode has changed. Add a build phase to your project, move it to before the Compile Scripts phase and set it to this:
export PATH="$PATH:/opt/homebrew/bin"
if which swiftlint > /dev/null; then
  swiftlint
else
  echo "warning: SwiftLint not installed, download from https://github.com/realm/SwiftLint"
fi
This will use the default SwiftLint config which you can change in Terminal.
If you’ve saved a custom config file, use something like this:
PATH=/opt/homebrew/bin:$PATH
if [ -f path/to/your-config-file.yml ]; then
  if which swiftlint >/dev/null; then
    swiftlint --no-cache --config path-to/your-config-file.yml
  fi
fi
To make SwiftLint fix what it can automatically, duplicate the swiftlint line and add --fix as another parameter to the first copy. This will run SwiftLint twice: once to auto-fix what it can, and a second time to supply the warnings and errors about what it couldn’t fix.
Writing
The text of the book was written in Markdown which is great for producing formatted text in a totally open and transferable format. I’m always on the lookout for a new Markdown editor and there are a lot of them around. In Section 3 of the book, I talk you through creating a Markdown editor for yourself, but it isn’t quite ready for full-time use yet. I wrote this book using FoldingText which I was quite happy with. While the folding part was not something I used, I appreciated the outline view. Editing text inside links and image links was difficult and the spell checker sometimes got confused and marked an entire sentence or paragraph as incorrect. But the formatting was good and easy to use with plenty of keyboard shortcuts. Code formatting was also excellent, which is a must.
I have a bad habit of using the passive voice, which is not good when trying to teach. I use Hemingway Editor to help me detect this, so that the passive voice can be eradicated… (Passive voice joke there.) You can use it online, but I prefer to use the app.
Screen shots
If you’ve read the book, you’ll know that it includes a lot of screen shots. There are a lot of third-party utilities for doing this, but the built-in facility gives me everything I need. It’s important to memorise the keyboard shortcuts to make this easier:
- Shift-Command-3: screen shot the entire screen.
- Shift-Command-4: bring up crosshairs to allow selection of an area:
- When in this mode:
- Escape exits without action.
- Press Space to enter window mode. The window under the pointer is selected and will be screen shotted.
- Hold down Command to select a dialog box instead of the complete window.
- Hold down Option to turn off the default shadow.
- When in this mode:
- Shift-Command-5: bring up the interface where you set options, take screen recordings and set a delay.
- I find this useful when I want to show the custom cursor during a drag operation. I turn on Show Mouse Pointer, set a 5 second delay and then start dragging before the timer runs out.
Once I have the image, I use Preview to crop and resize as needed.
And…
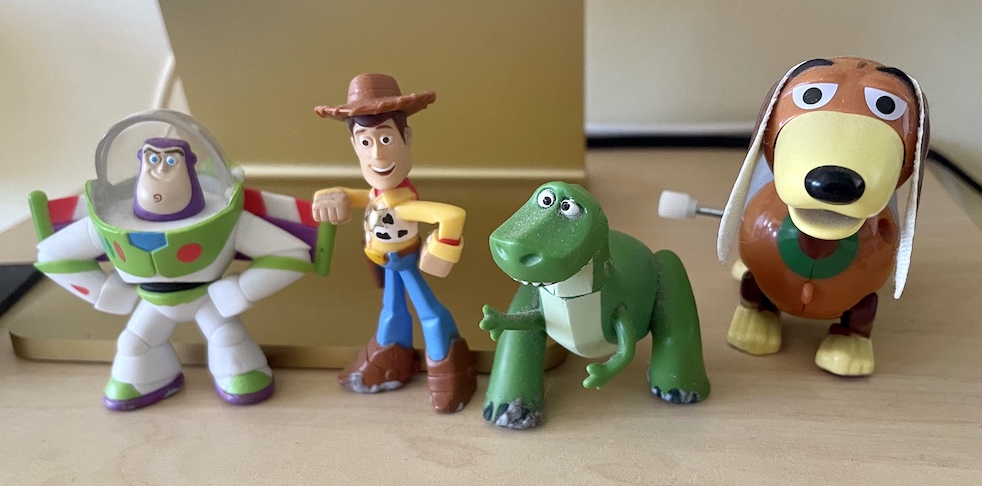
Finally, there’s my support crew who watch every word I type and listen carefully as I explain my code.
