Icon Builder 5
18th February 2018 • 1,065 words • 6 minutes reading time.
Icon Builder 5.0 is now available from the Mac App Store. This is a complete re-write for better compatibility with Apple's latest icon requirements. Read on to see what I have fixed and how...
Problems
When I came to create a new iOS app recently, I found out that Icon Builder had fallen behind Apple's requirements in three ways:
- The 1024 x 1024 marketing icon is now supposed to be inside the app's icon set.
- Icon files must have their color profile set to sRGB (P3 is also valid for iOS apps).
- iOS icon files must have no transparent pixels and the alpha channel must be removed from the files.
When I set to work fixing these problems I soon ran into issues with the existing version of Icon Builder which was created 6 years ago.
- It was written in Objective-C which I am increasingly finding difficult and un-safe to write.
- The app was written when I was very much a beginner in Mac apps and this is obvious from the code...
- There was a lot of legacy code left over from previous changes and extensions.
So I decided that the most interesting thing to do would be to start almost from scratch and re-write the app in Swift using better techniques.
The Re-write
Now instead of the Massive View Controller, I have a larger set of small files, each with their own responsibility. Enums and structs dictate the various requirements for the different devices or app types. Other structs deal with creating the images, the folder management and writing out the files. An NSImage extension handles the resizing and reformatting of the images. This is now an app that I would not be ashamed to show anyone, except perhaps for the need to add more unit tests.
Adding a color profile
But then we get to the new features needed. Adding the 1024x1024 icon to the app icon set was easy, especially after the re-factoring. But what about the color profile?
This was not as easy as I expected - there is no built in command to apply a profile but here is the solution that I finally found:
extension NSImage {

  func convertImageTo_sRGB() throws -> Data {
      guard let colorSpace = CGColorSpace(name: CGColorSpace.sRGB),
          let cgi = self.cgImage(forProposedRect: nil,
                                 context: nil,
                                 hints: nil) else {
                                  throw ImageError.cantMakeCgImage
      }

      let ci = CIImage(cgImage: cgi)

      guard let pngData = CIContext().pngRepresentation(of: ci,
                                                        format: kCIFormatRGBA8,
                                                        colorSpace: colorSpace) else {
          throw ImageError.cantConvertToPng
      }
      return pngData
  }

}- This takes the NSImage and converts it to a CGImage, first checking that the appropriate color space exists.
- Then it uses the Core Graphics CGImage to create a Core Image CIImage.
- There is a new API in macOS 10.13 to extract the png data from a CIImage while assigning a color profile.
- This Data can then be written directly to a file and there you have a PNG with an attached color profile.
Transparency
Now problems 1 & 2 have been solved. Problem 3 was the most difficult. It turned out to be a two-part problem because an image file can have no transparent pixels but still have an alpha channel in the file data.
At first, I thought maybe I could just circumvent the whole problem by converting the images to JPEGs which have no transparency or alpha channel. Using the code above, I just changed it to getting the jpegRepresentation instead and saving with a .jpg file extension.
While this solved the alpha channel problem, the transparent parts of the icon just went black which was a not a good look.
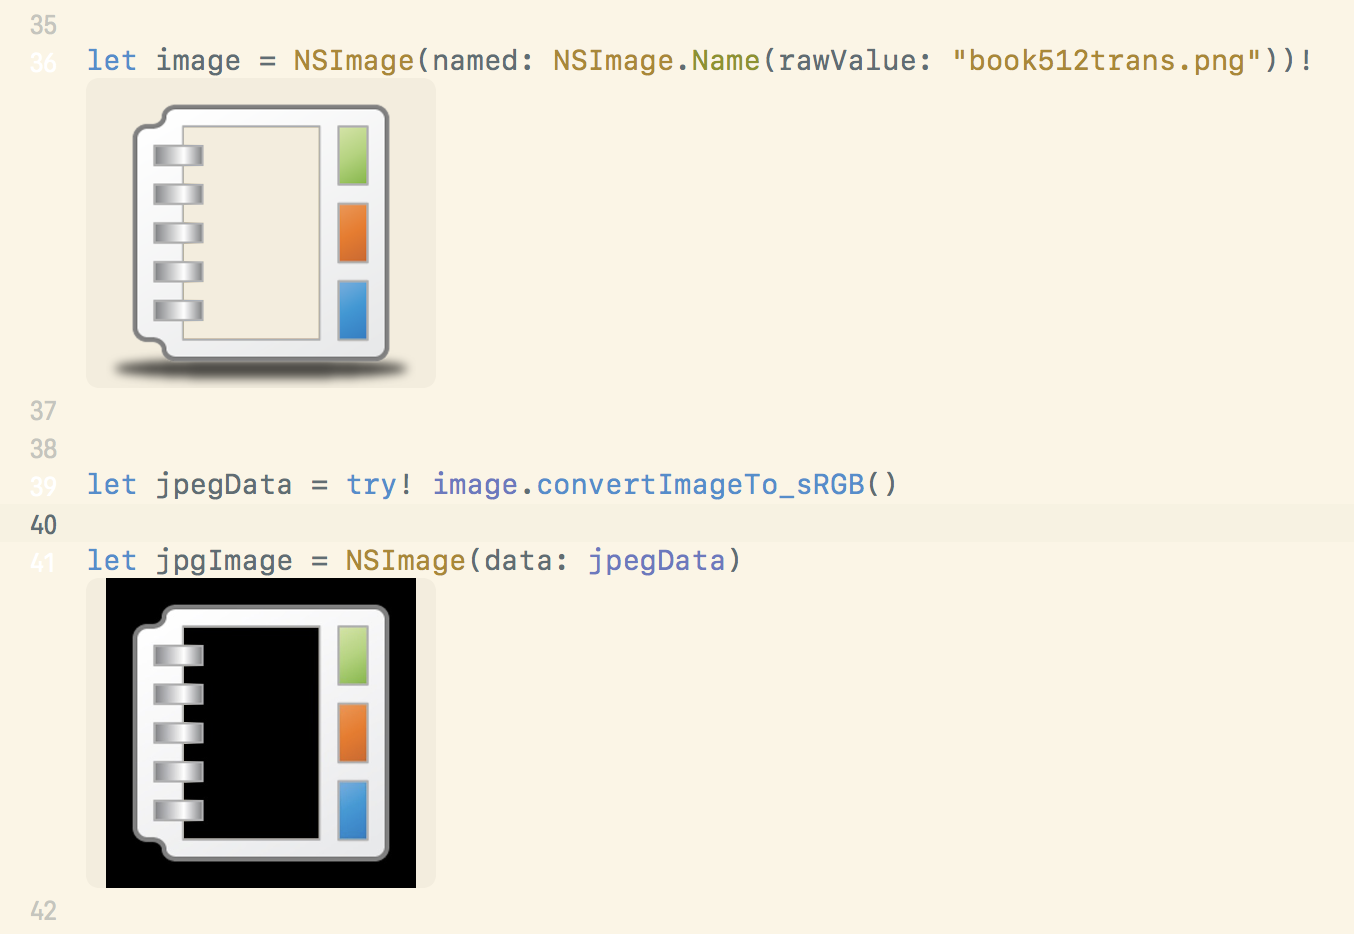
For anyone horrified at my use of force-unwrapping, I never do this in a production app but in a playground, it makes the code shorter and it doesn't really matter if I get a crash there.
Converting transparent pixels to white
So the first step must be to set the transparent parts of the image to another color. Searching for solutions online, most of the ones I came up with were very slow (processing each pixel) or so complicated that I didn't understand them, and I hate just copy-pasting code that I don't understand at all.
But eventually I found something that I morphed into this:
extension NSImage {
func makeAlphaWhite() -> NSImage {
guard let imageData = self.tiffRepresentation,
let imageRep = NSBitmapImageRep(data: imageData),
let jpegData = imageRep.representation(using: .jpeg, properties: [
NSBitmapImageRep.PropertyKey.compressionFactor: NSNumber(value: 1.0)
]),
let jpegImage = NSImage(data: jpegData) else {
return image
}
return jpegImage
}
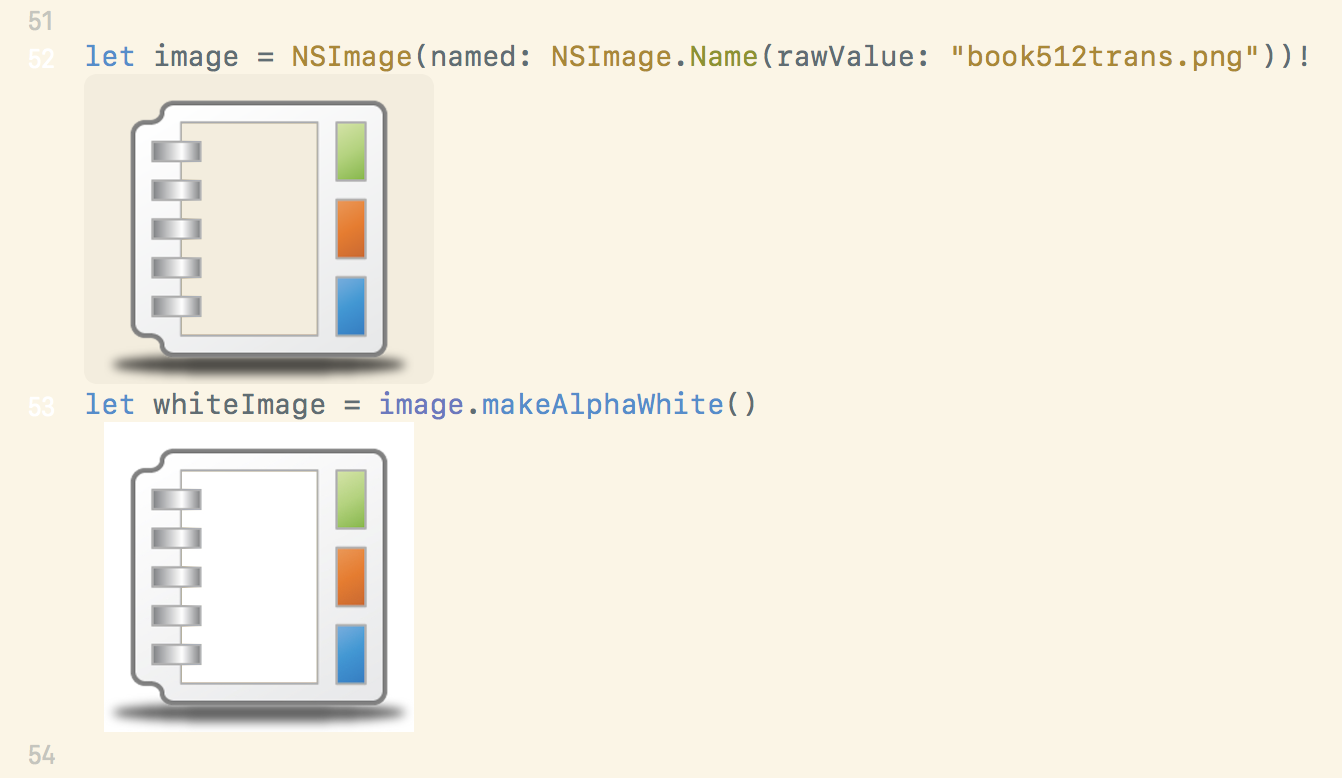
}It used basically the same trick of converting the image into a JPEG but doing it this way via NSBitmapImageRep turned the transparent pixels white instead of black. And as you can see, this gave a much better looking image:
Now I was able to continue with my plans to have JPEGs rule the world! This worked really well in my early tests but then I came to try a Stickers app and the icons didn’t work. I couldn't even drag them in manually! Back to the Apple docs and I see that icons must be PNGs.
When I changed the transparent pixels to white, added the color space and then saved the PNG data, I got an image that looked correct but the file still contained an alpha channel. So I had to come up with a method that re-wrote the PNG data in such a way that it never contained any alpha data at all.
Removing the alpha channel
Graphics experts are probably groaning aloud by now, but I did eventually arrive at a solution, however hacky:
extension NSImage {

    func convertImageTo_sRGB_noAlpha() throws -> Data {
        guard let colorSpace = CGColorSpace(name: CGColorSpace.sRGB),
            let cgi = self.cgImage(forProposedRect: nil,
                                   context: nil,
                                   hints: nil) else {
                                    throw ImageError.cantMakeCgImage
        }

        let ci = CIImage(cgImage: cgi)
        guard let jpgData = CIContext().jpegRepresentation(of: ci,
                                                           colorSpace: colorSpace) else {
            throw ImageError.cantConvertToJpg
        }
        guard let jpegImage = NSImage(data: jpgData) else {
            throw ImageError.cantConvertToJpgImage
        }
        let pngData = try jpegImage.convertImageTo_sRGB()
        return pngData
    }

}- Take the image after changing the transparent pixels to white.
- Convert it to JPEG data with the required color space.
- Convert the JPEG data back to an image - this will contain NO alpha data.
- Use the original routine to convert this JPEG into PNG data with the correct color space.
Running this in the playground looks like this:
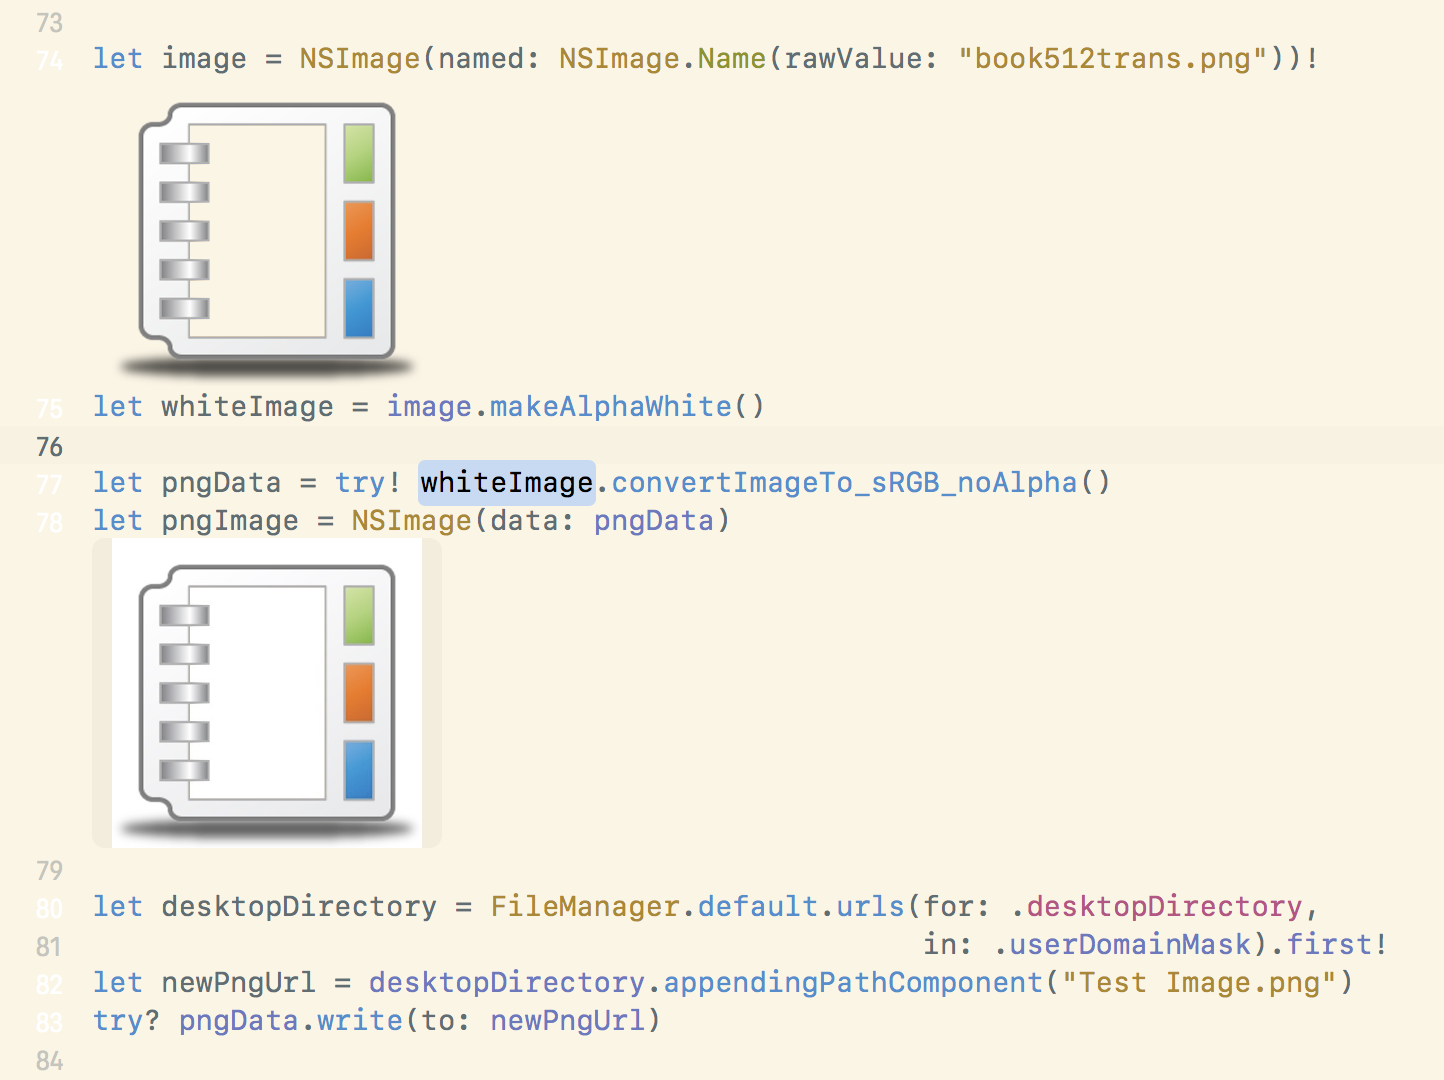
And as you can see from the file info, it results in a file with the correctly assigned color profile and no alpha channel:
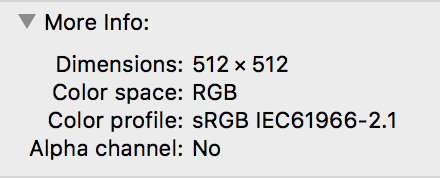
The double shuffle sounds time-consuming and in-efficient but it really doesn't take long. In my tests, by far the longest part of creating an icon set is opening the file dialog.
Future plans
- Add more unit tests.
- Work out how to replace the transparent pixels with a selected color.
- Offer better cropping and image positioning options.
References
For resizing and cropping images, I use Matt Gemmell's NSImage+MGCropExtensions and for further reading, I recommend Apple's Human Interface Guidelines concerning app icons for iOS and macOS.
Note: here is Australia we use the spelling colour but for consistency with the code samples, I have used color throughout the text.